Build your first rule
Let's get started building a rule. First, go to the dashboard (opens in a new tab). If this is your first time creating a rule, it will look something like this:
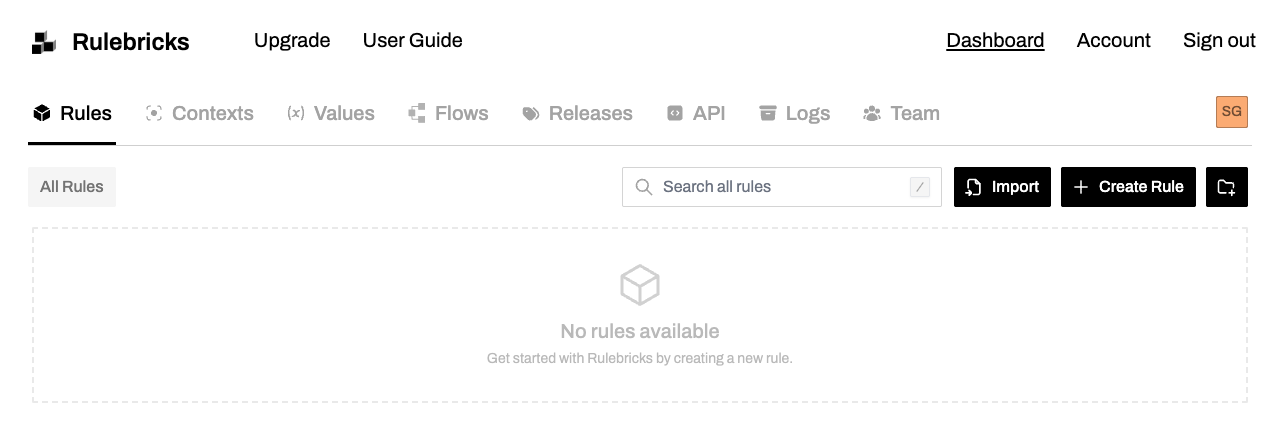
Creating Your First Rule
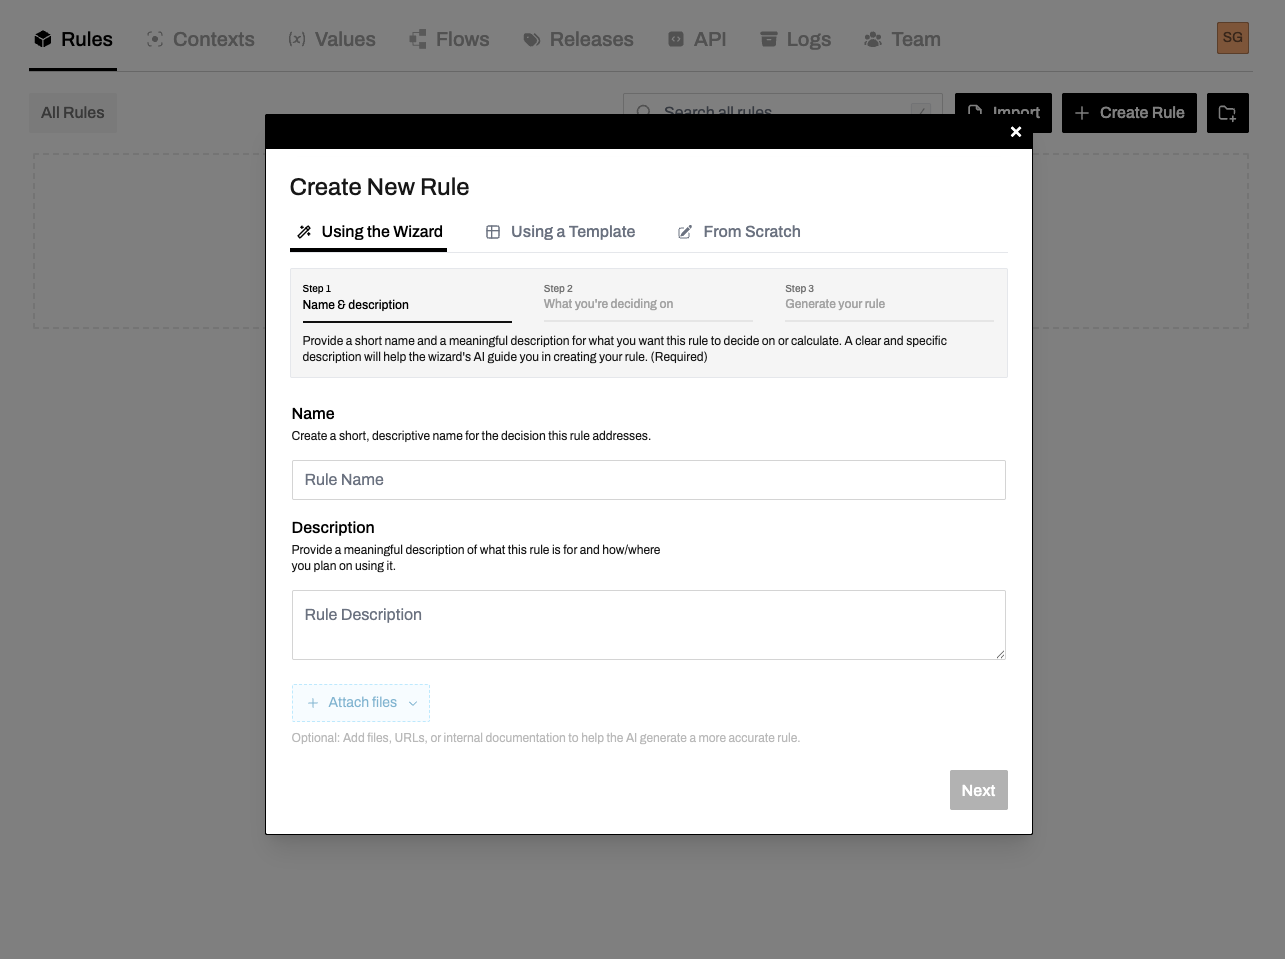
Create a new rule
Click the Create Rule button in the top right. You'll be presented with a dialog to configure your new rule.
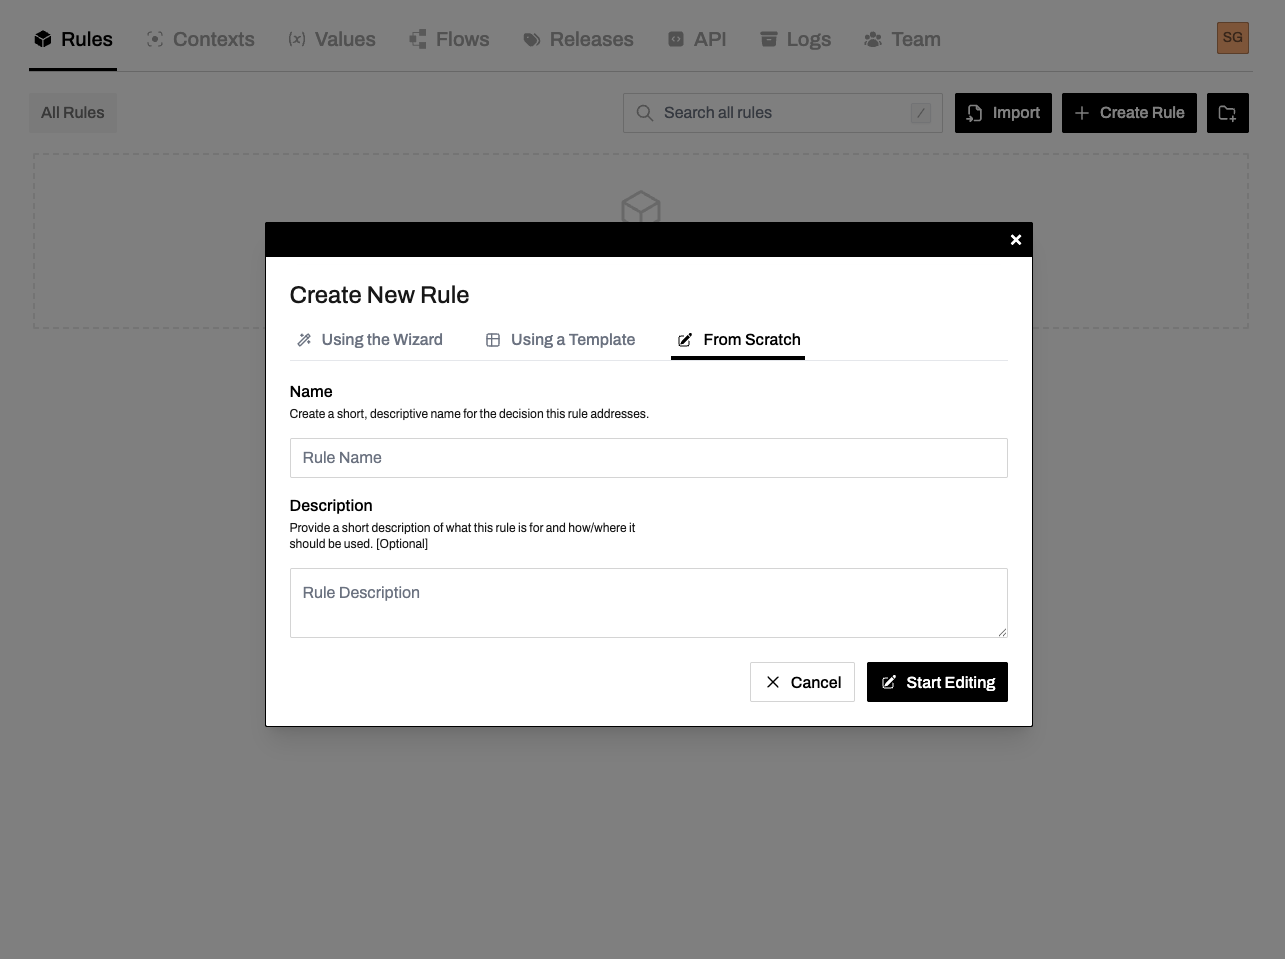
Select "From Scratch"
Choose From Scratch to build a rule from the ground up (just for this tutorial– we actually recommend using our wizard or a template if you'd like to skip to seeing what things look like in Rulebricks right away).
Open the editor
Your rule will be created, and you'll be dropped into the rule editor. This is where you'll define your decision logic.

Understanding the Rule Table
The rule table is the main area where you define your decision logic. It's split into two sections:
- Request (Conditions): The left side contains the conditions that determine which row matches
- Response (Results): The right side contains the values returned when a row matches
At the top of each column is the column header showing the column name and data type icon.
Data Types
Rulebricks supports several types of data commonly used in decision-making:
Text is a string of characters.
'Hello, world!'
'approved'
Example operations: Equals, contains, starts with, is valid email.
Want to see a full list of the operators supported for each type on Rulebricks? Check out our Operator Index (opens in a new tab).
Setting Up Your Schema
The schema defines what data your rule accepts (request) and returns (response).
Open the Schema Editor
Click on the Schema button to open the schema editor. This is where you define your input and output fields.
Simple mode gives you a clear view of your inputs. Click the colored type icons on each item to change its type.

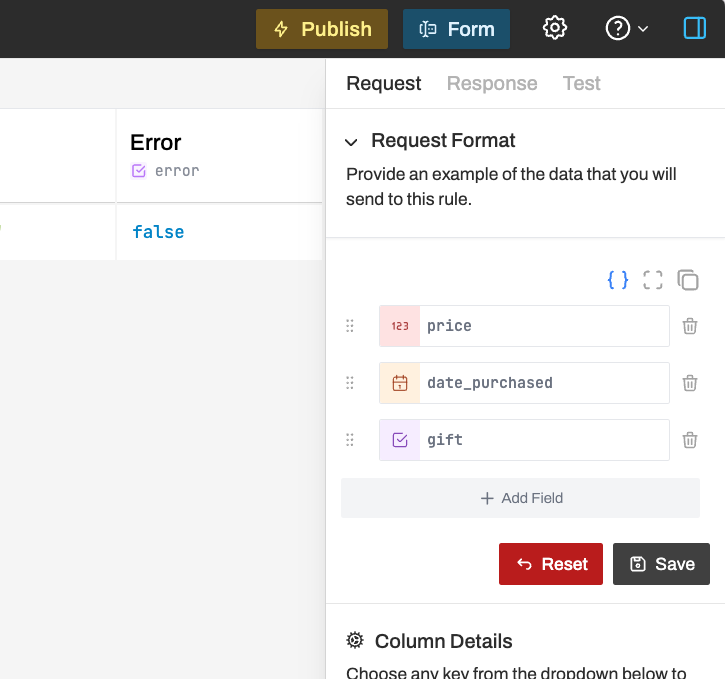
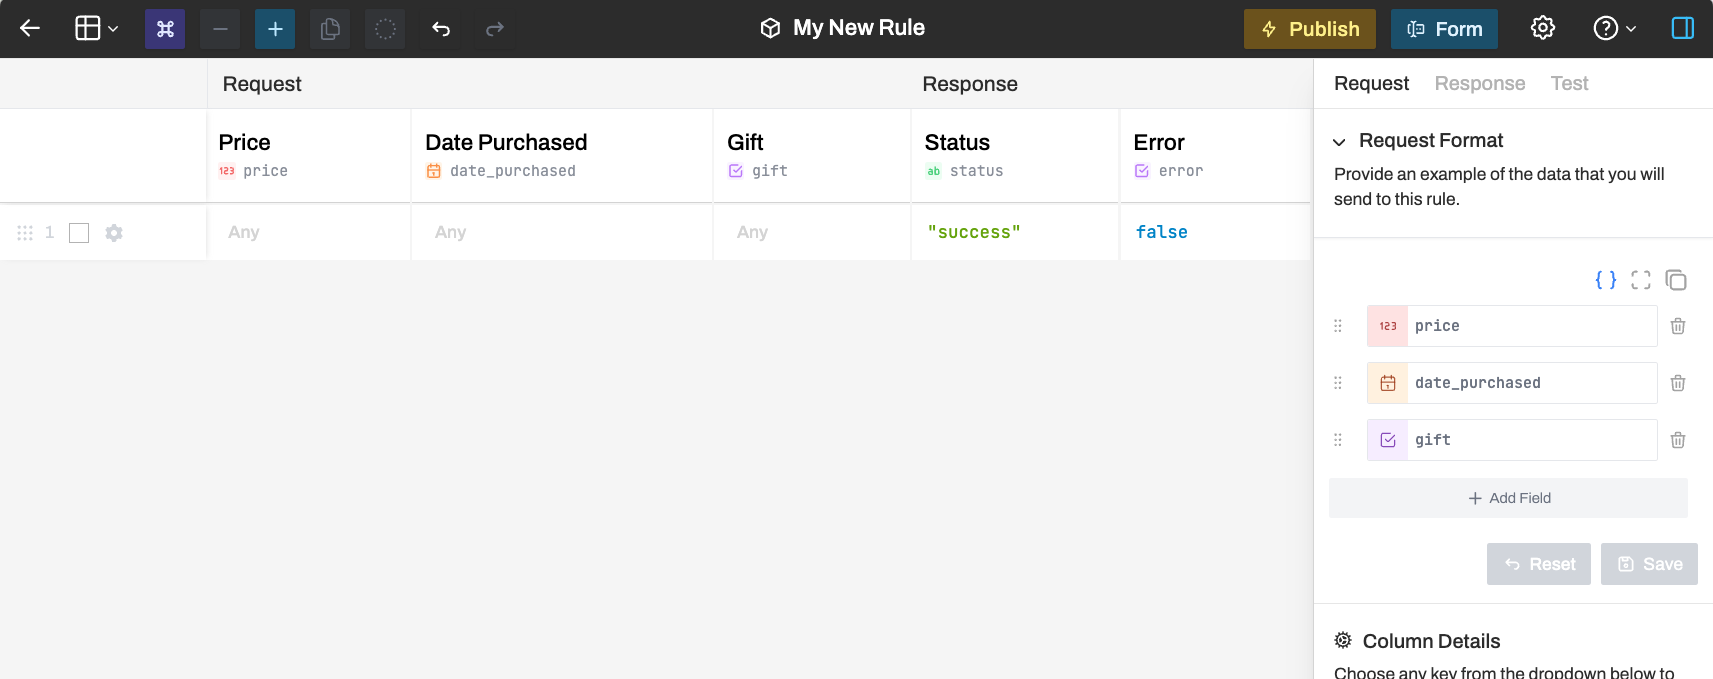
Configure the Request Schema
Let's create a simple pricing rule. Set up your request schema with:
{
  "price": 40,
  "date_purchased": "2024-01-15T10:30:00Z",
  "gift": false
}
Click Set Schema to apply the changes.
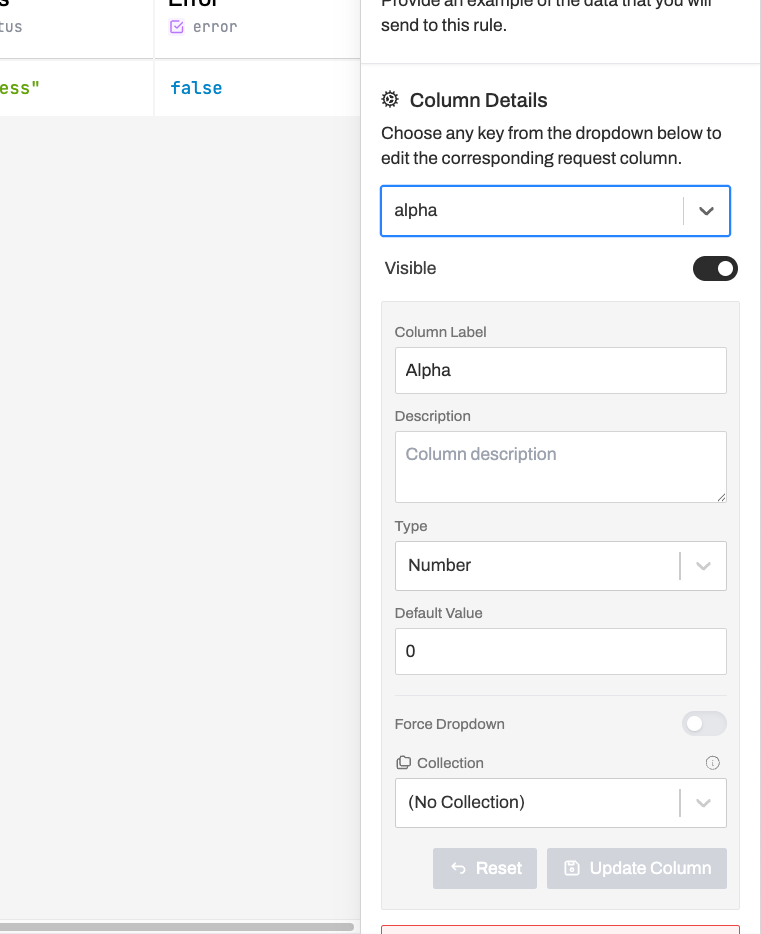
View Column Details
You can click on any column header to see and edit its details, including type and display name.
Save the Schema
Click Save to apply your schema changes.
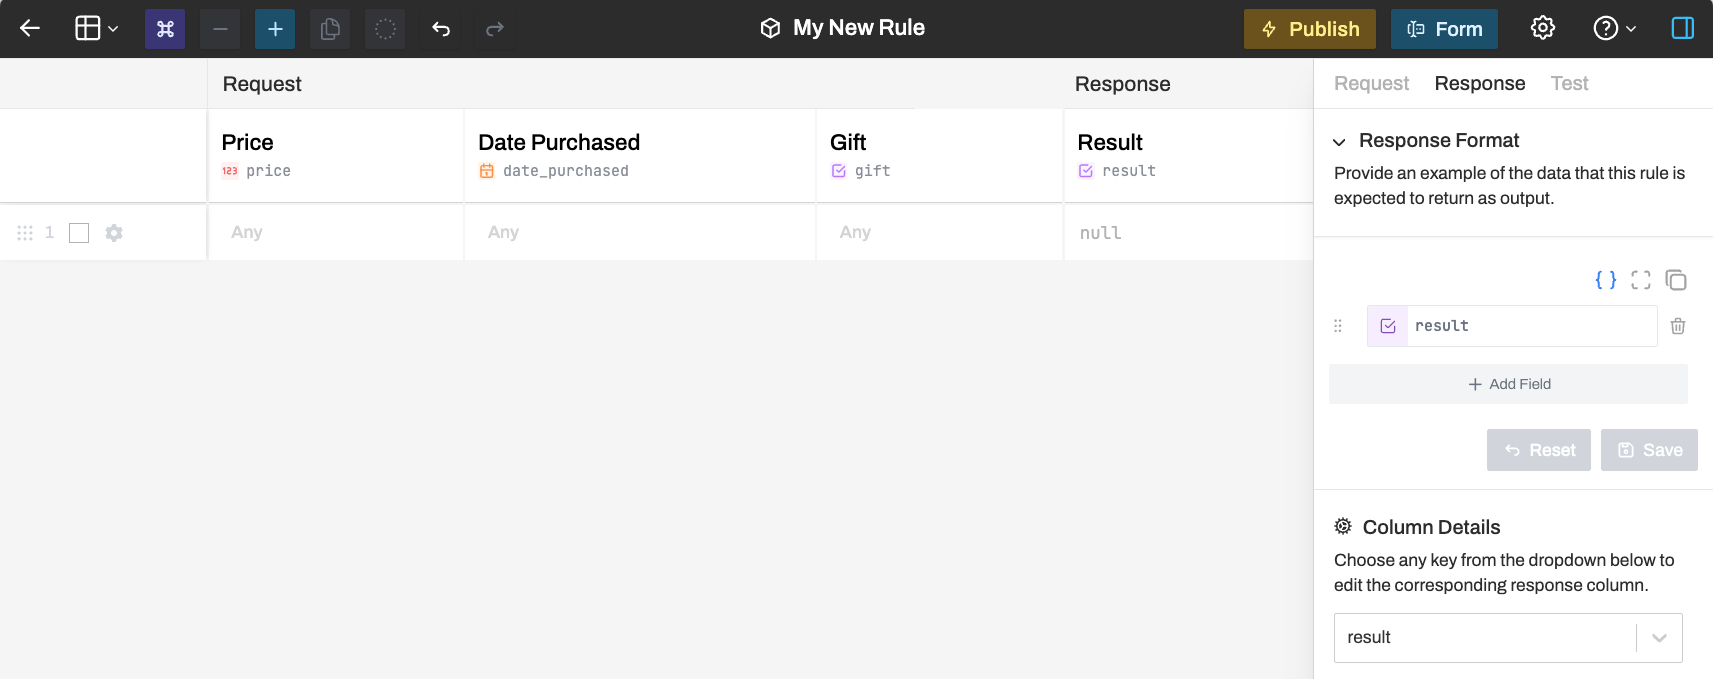
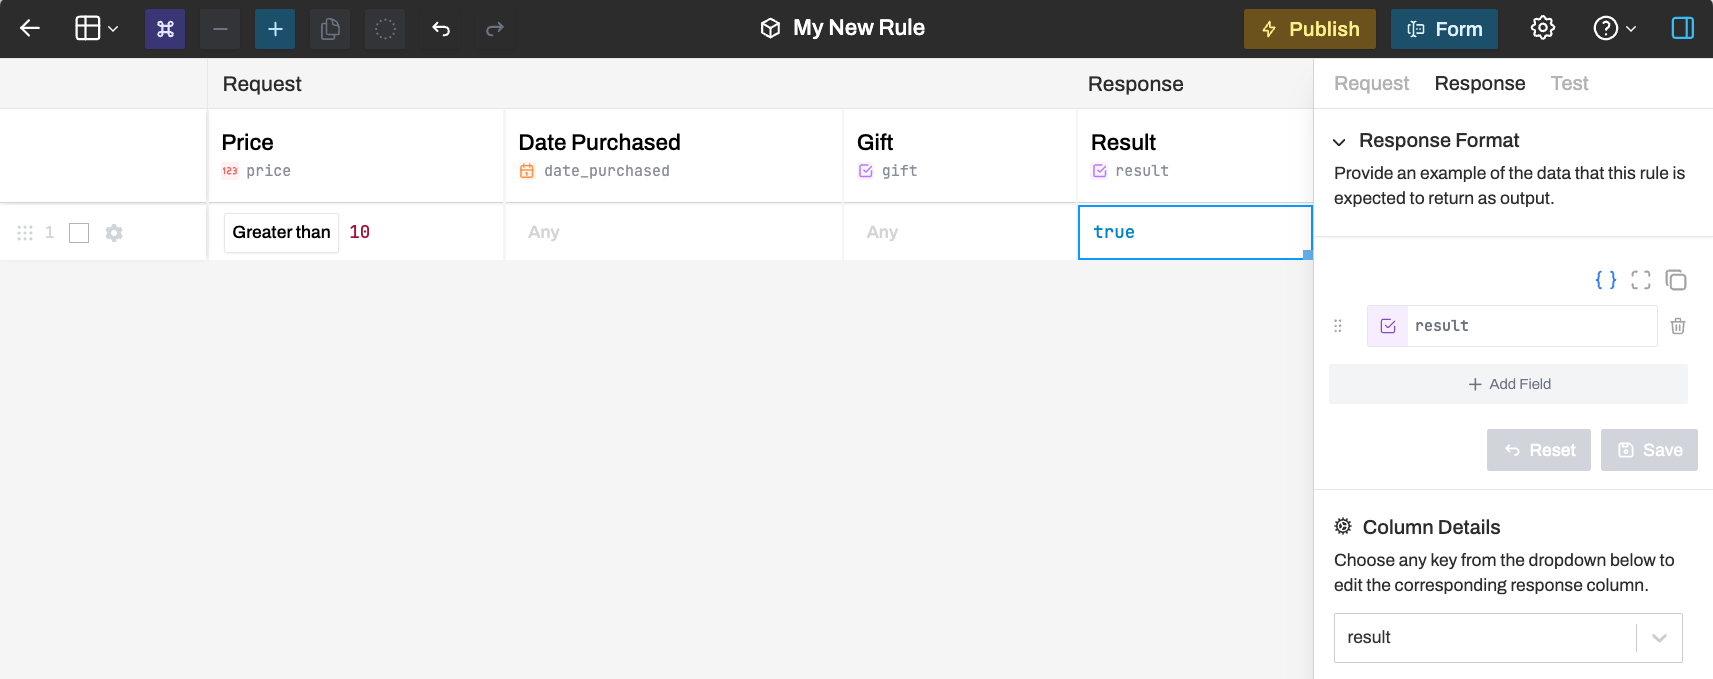
Set Up the Response Schema
Configure what your rule returns. For our example:
{
  "result": true
}
Adding Conditions and Results
Now let's add the actual decision logic to your rule.
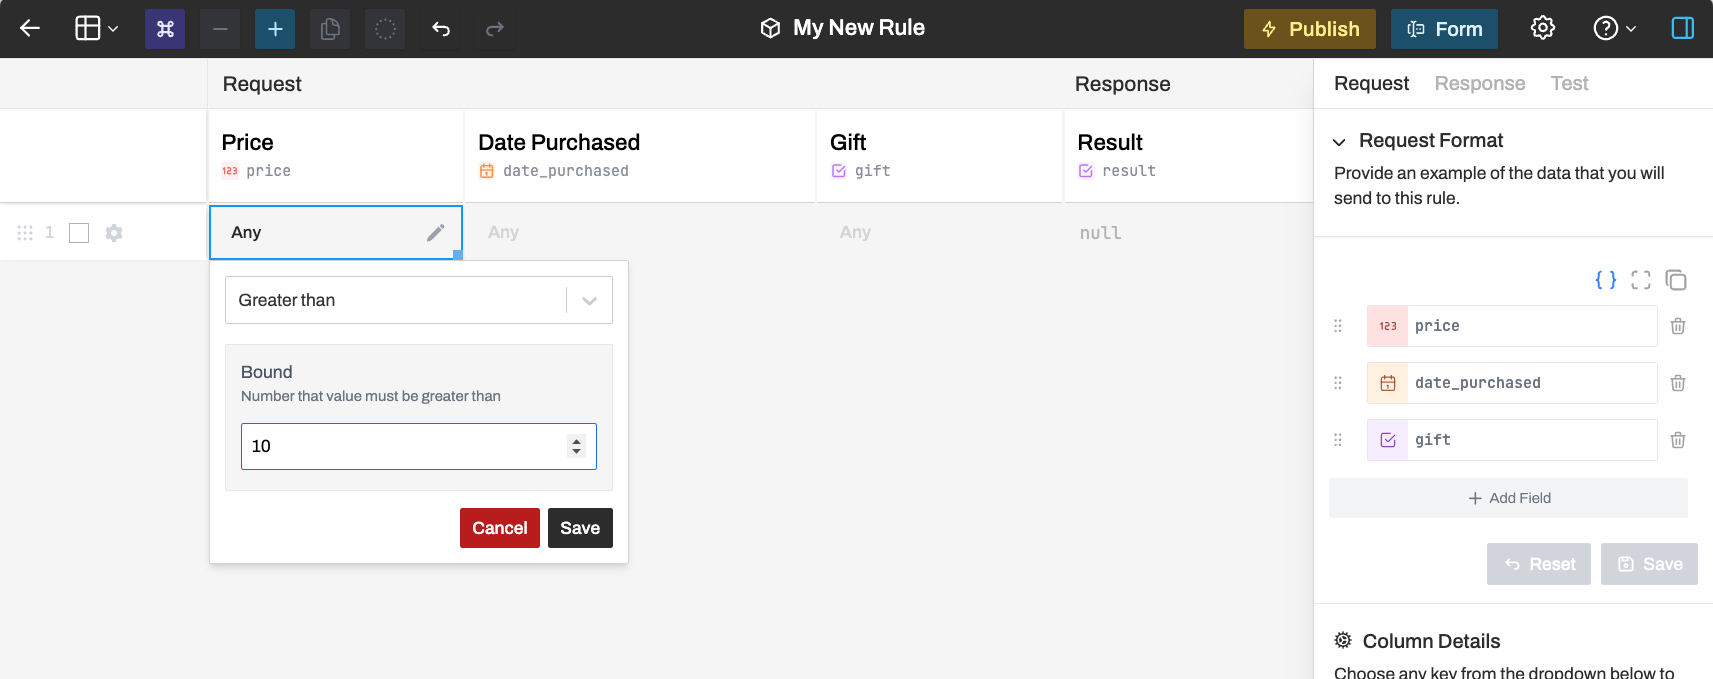
Add a condition
Click on a condition cell in the price column and add a condition. Let's check if the price is greater than 10.
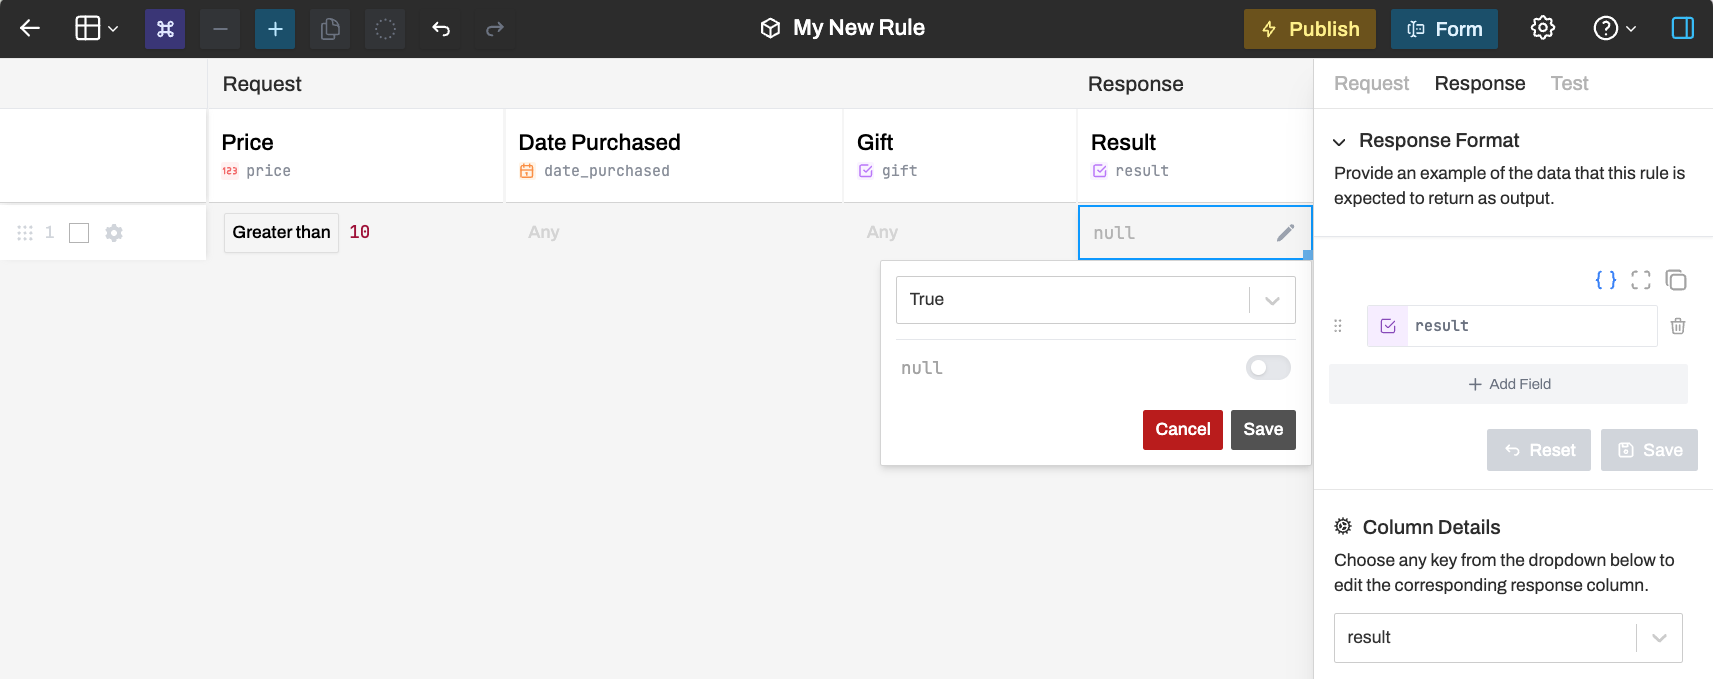
Set the result
Click on the result cell in the result column and set the value to true.
Testing Your Rule
Open the Test tab
Click on the Test tab in the sidebar to test your rule locally.
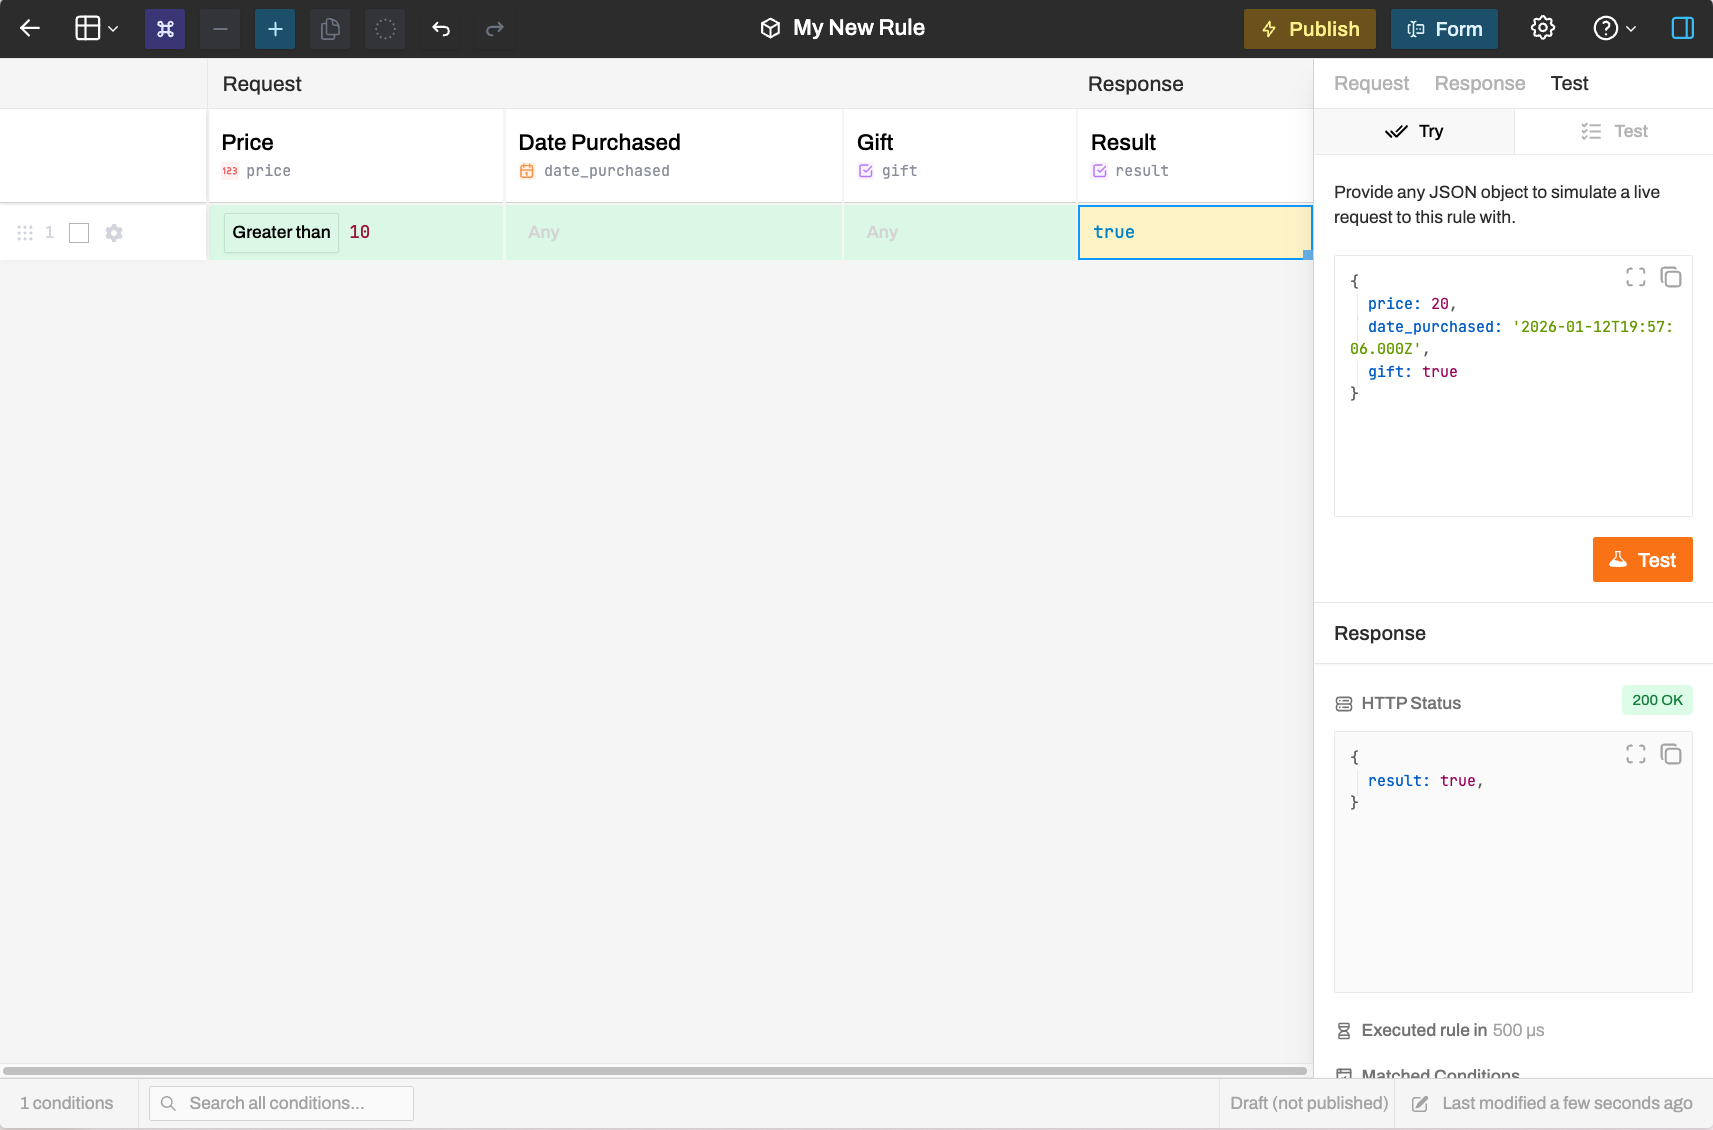
Test with matching data
Enter a test request:
{
  "price": 20
}
Click Test. You should see the row highlight in green (conditions matched) and blue (result returned), with a 200 OK response.
Test with non-matching data
Try a price that doesn't match:
{
  "price": 5
}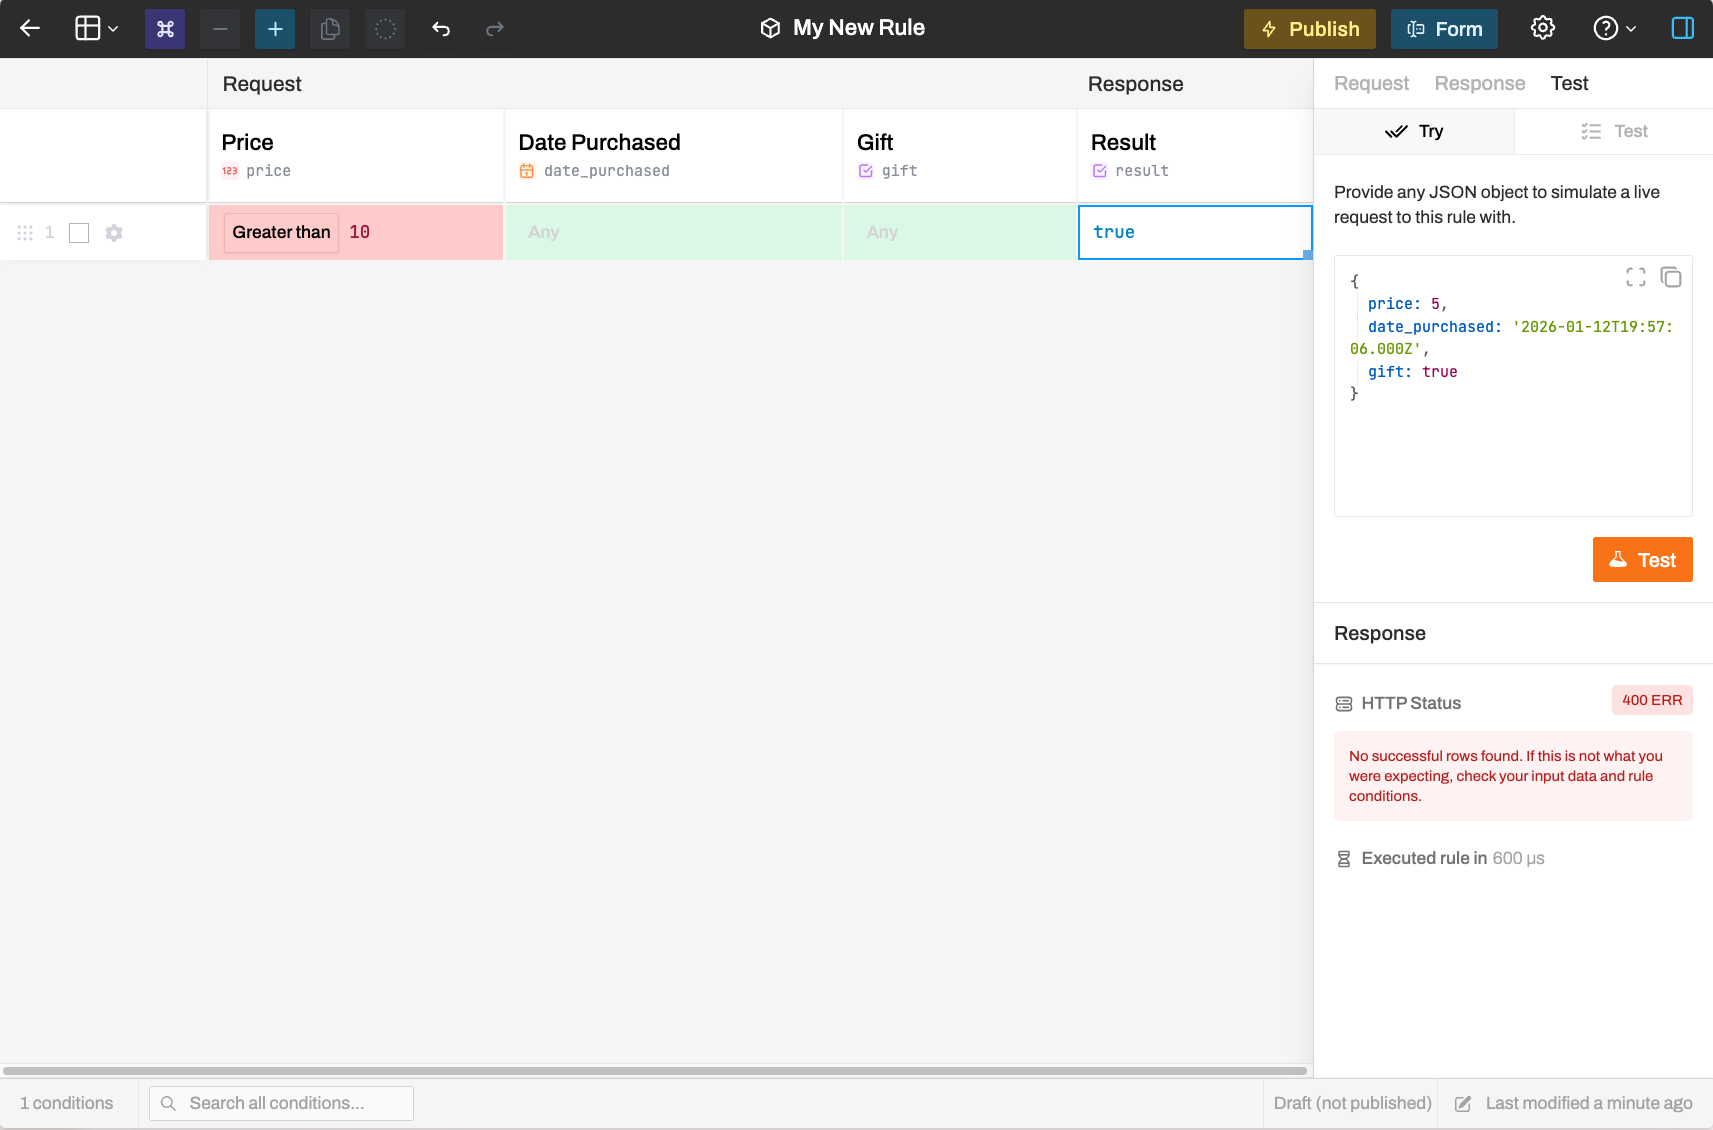
Since the price is not greater than 10, no row matches, and you'll get a 400 error.
Adding a Catch-All Row
To handle cases where no specific condition matches, add a catch-all row.
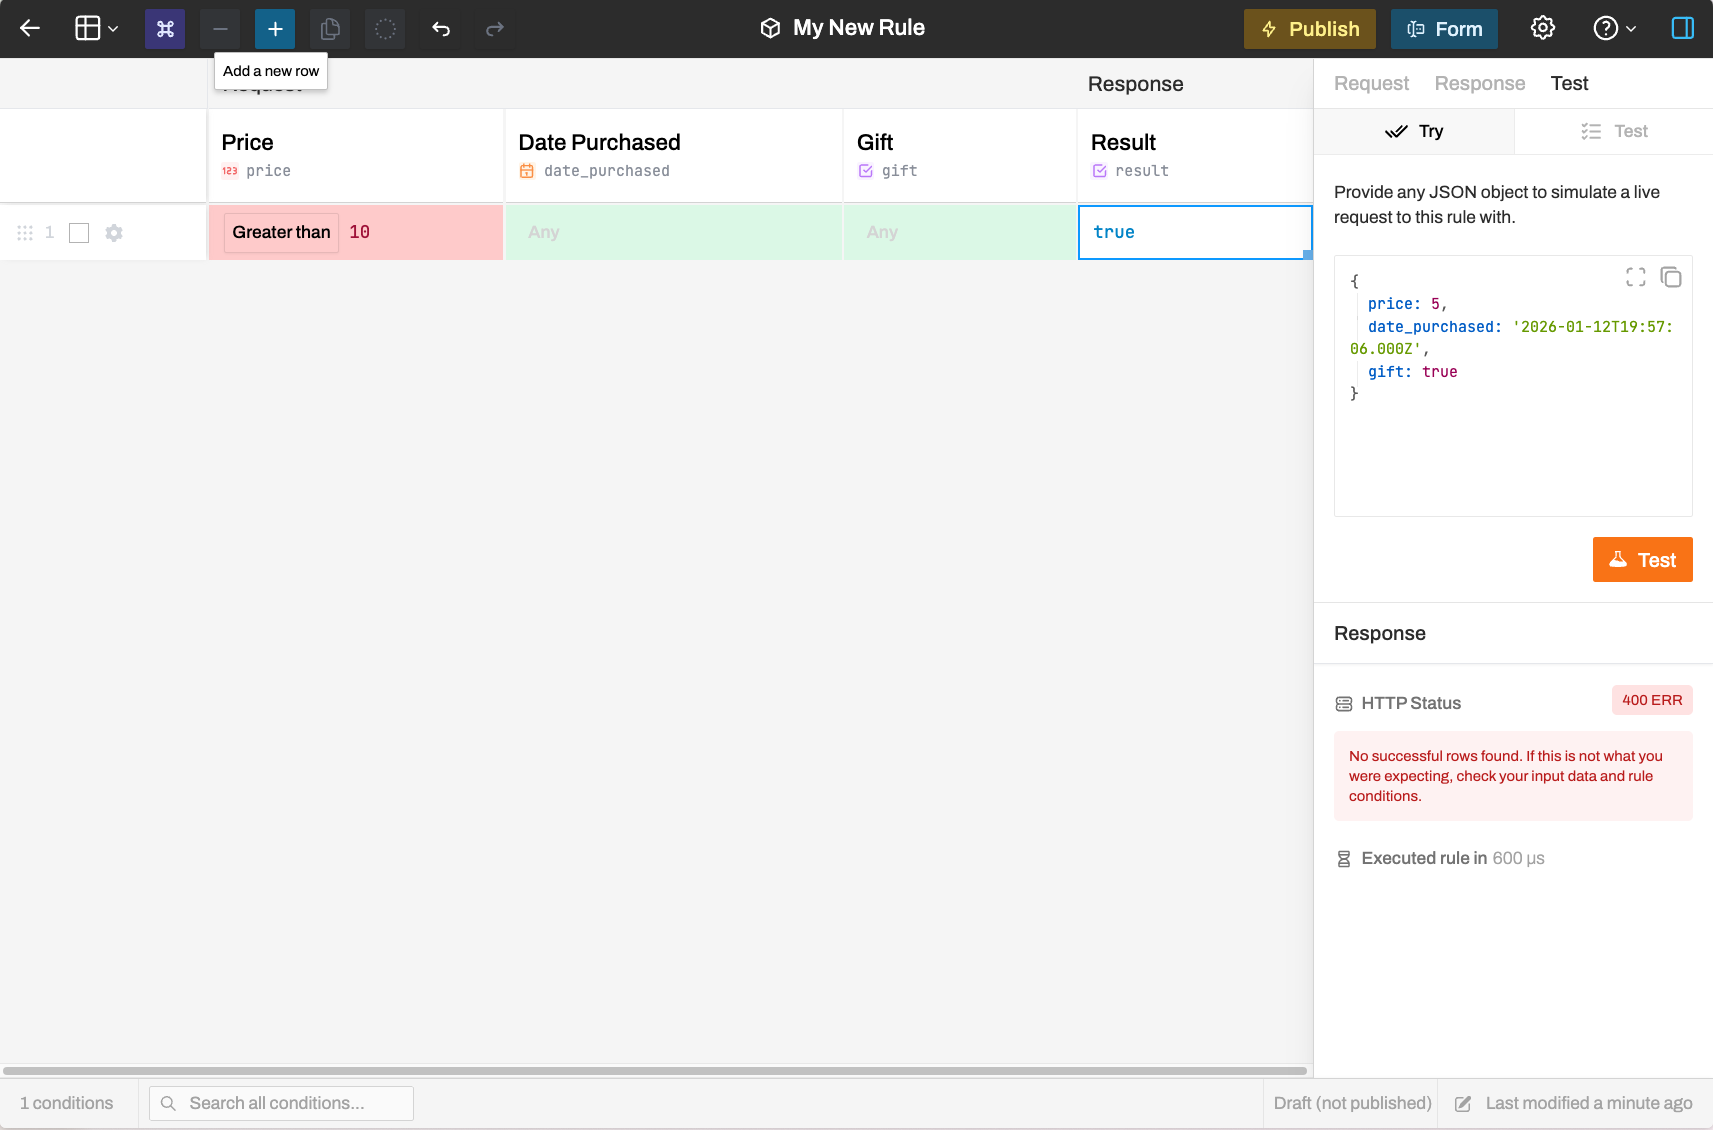
Add a new row
Click Add Row in the toolbar to add a blank row.
Leave conditions as "Any"
The new row will have Any for all conditions, meaning it matches any input that doesn't match earlier rows.
Set the catch-all result
Set the result to false for the catch-all row.
Test again
Test with the price of 5 again:
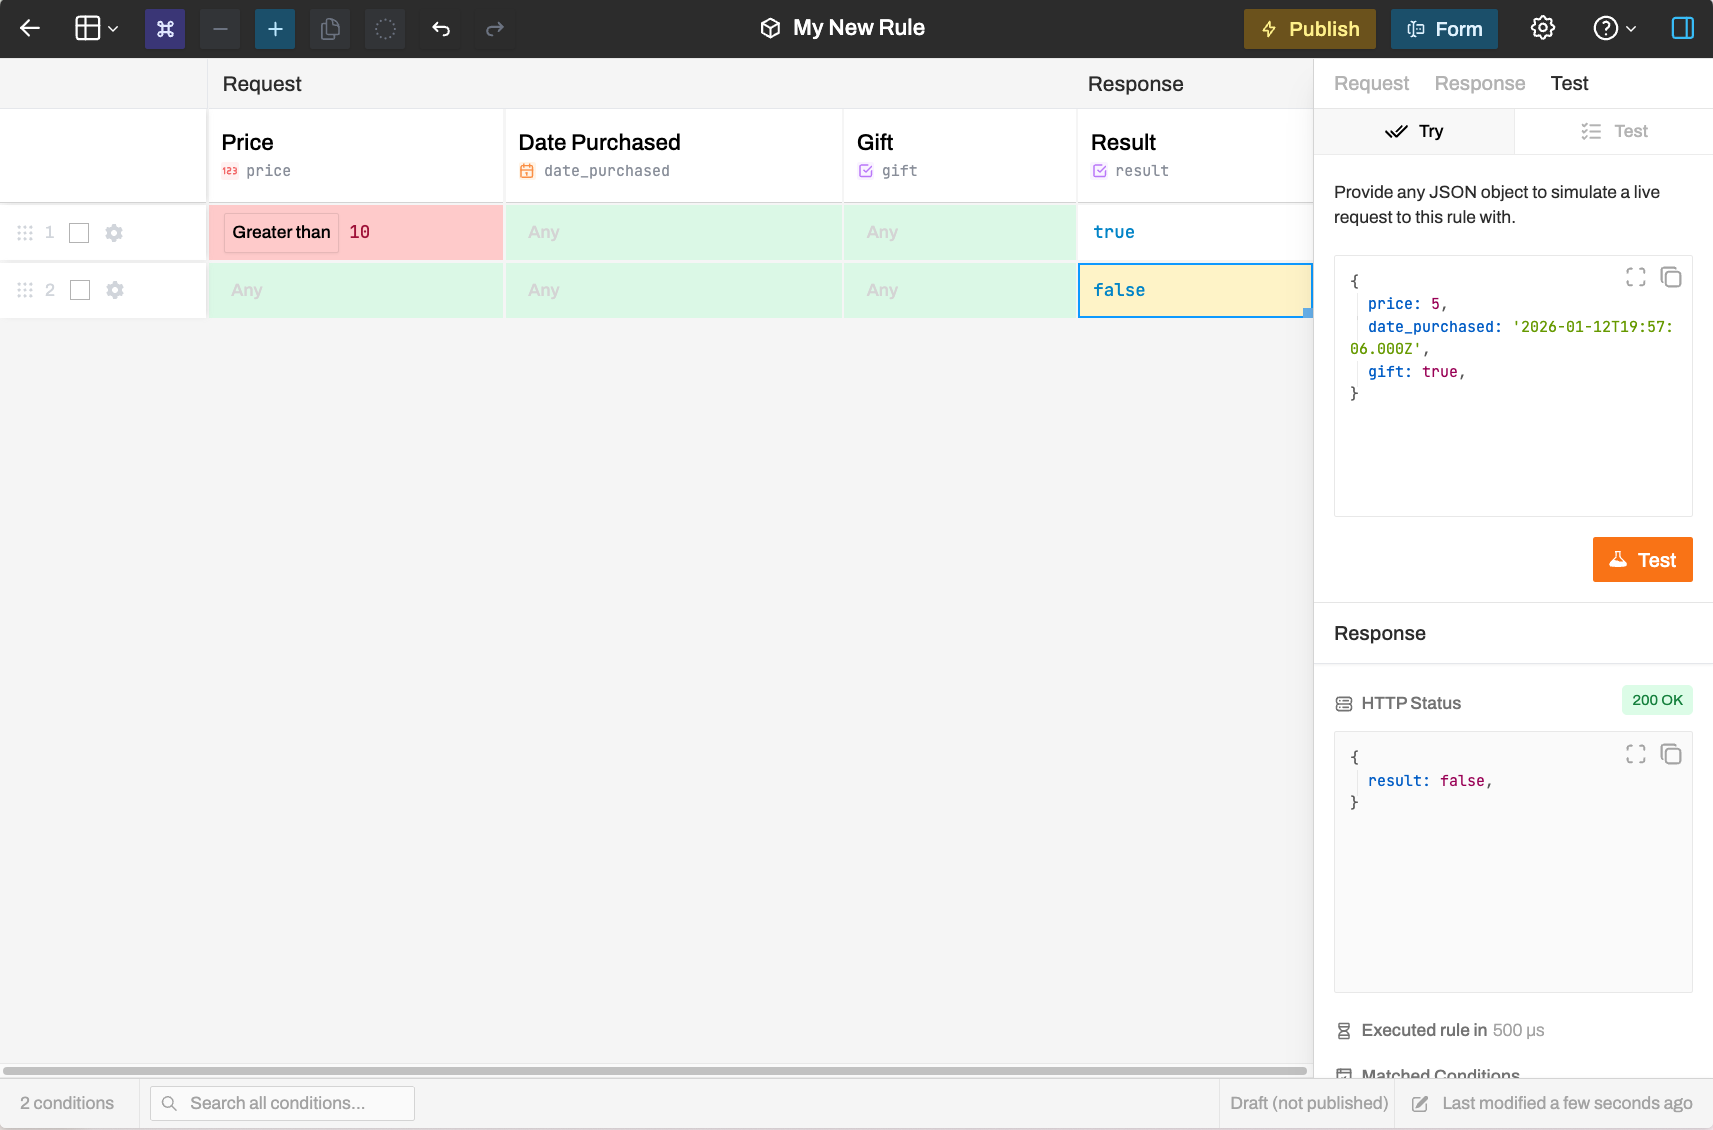
Now the catch-all row matches, returning result: false with a 200 OK response.
Final Rule State
Your completed rule should look like this:
Row 1: If price > 10 → result: true Row 2: Catch-all → result: false
How Row Matching Works
Rulebricks evaluates rows top to bottom:
- For each row, all conditions in the request section are checked
- If all conditions in a row pass, that row "matches"
- The first matching row determines the response
- If no rows match, an error is returned (unless you have a catch-all)
Cells highlighted in green indicate conditions that passed. Cells highlighted in red indicate conditions that failed. Cells highlighted in blue show the result that was returned.
That's it! You've built and tested your first rule. Continue to the next section to learn how to publish your rule and call it from your application.